}

Sunday, August 7, 2016

Getting Your Students Started with Seesaw


So you have signed up for your Seesaw account and created your class? Now what? Well, let me help you...
I suggest starting very simple. As you probably know, it is very beneficial from the beginning to model expectations and procedures. The same goes for using technology/apps in the classroom. 
First of all I explain to students that we will be using Seesaw to document/share their progress throughout the school year. We discuss how their work will be viewed by not only me but their peers, parents, and other teachers/administrators.  
I then move on to discuss how we will login into this application by scanning the provided QR code for our class. (This will have been sent in an email to the email address you provided. Check for it & have it handy!) I provide codes for each table/team to scan and sign into our class account. Please consider posting multiple copies of this code around your room for easy access for your students. If the Seesaw app is completely closed, or you happen to change settings, students will need to scan the QR code to gain access again. So allow them to be independent and take care of this step by themselves. Let me tell you I was happy I did. It was always during an inconvenient time that a little darling would cry out, “I  need to get in Seesaw!”… “Ugh!”.
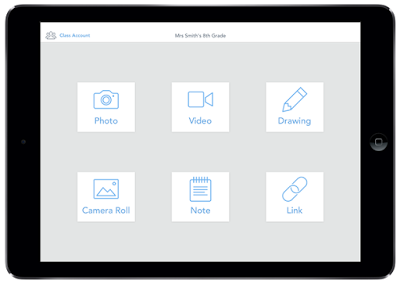
Now that your student is logged in, prompt them to find their name in the list of journals. They will quickly learn their name/icon. Discuss with students that the green + means that they would like to add an item to their journal. Tell students about the options they have in Seesaw. (photo, video (5 min max), drawing, camera roll, note, & link (which I did not allow my students to use, I told them it was for me to send them cool new websites ONLY).
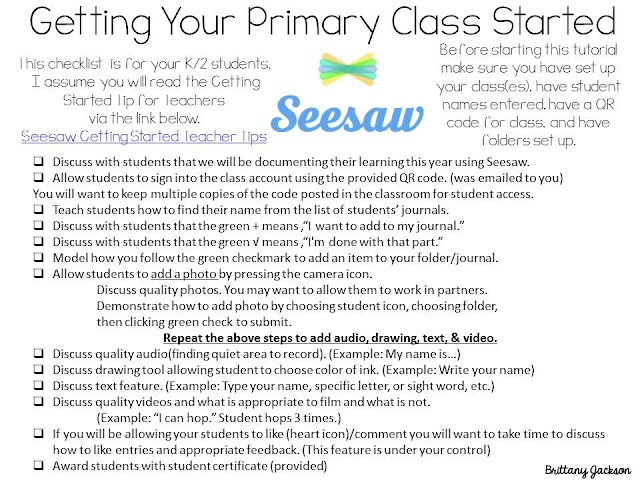
Now it is time for you to model and let the students explore. Model how you follow the green add mark to add an item to your folder/journal. Discuss with students that the green √ means, “I’m done with that part.” 
Allow students to add a photo by pressing the camera icon. Discuss quality photos. You may want to allow them to work in partners. Demonstrate how to add photo by choosing student icon> choosing folder> then clicking green check to submit.
Continue to guide students through exploring Seesaw by repeating the above steps to add audio, drawing, text, & video.
The following are my suggestions/tips of introducing the additional features:
  • Discuss quality audio & finding quiet area to record (My name is...)
  • Discuss drawing tool allowing student to choose color of ink.
  • (Example: Write your name)
  • Discuss text feature. (Example: Type your name, specific letter, or sight word, etc.)
  • Discuss quality videos and what is appropriate to film and what is not. (Example: “I can hop.” Student hops 3 times.)
These are only suggestions of what worked for me when demonstrating to my Kinder students how to use Seesaw. You could alter the tasks for your students to add into their journals, but please think of having them use each tool in Seesaw to save you some heartache later on.
Use this to help you introduce Seesaw to your students...

https://drive.google.com/file/d/0B91Dcgl9HYegOWYtdnlsdHNUSFk/view?usp=sharing

Seesaw has the option to allow students to “like” and comment on their peer’s work. I gradually allowed my Kinders to do so throughout the year. By Christmas break I allowed students to “like” an item submitted by their peers. There was much discussion about liking a submission for fulfilling the expectations of the given assignment, not just because they are our friends. By March, my Kinders were commenting on others submissions with guidance. Know that this feature is totally under your control as the teacher by  clicking on the Manage Class tab>Student likes & comments. If you will be allowing your students to like (heart icon)/comment you will want to take time to discuss how to like entries and appropriate feedback.
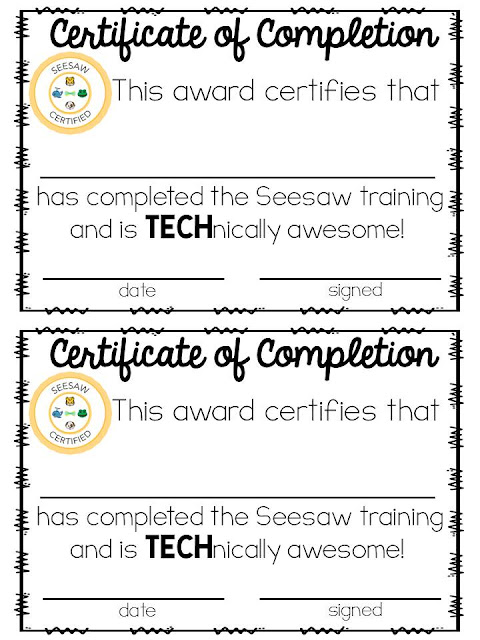
So you made it through the tutorial with your students?! Well award them with the following certificate!


https://drive.google.com/file/d/0B91Dcgl9HYegRHRPRzd5Znp6eEU/view?usp=sharing

You are well on your way using Seesaw in your classroom...


Thursday, August 4, 2016

Getting Started with Seesaw


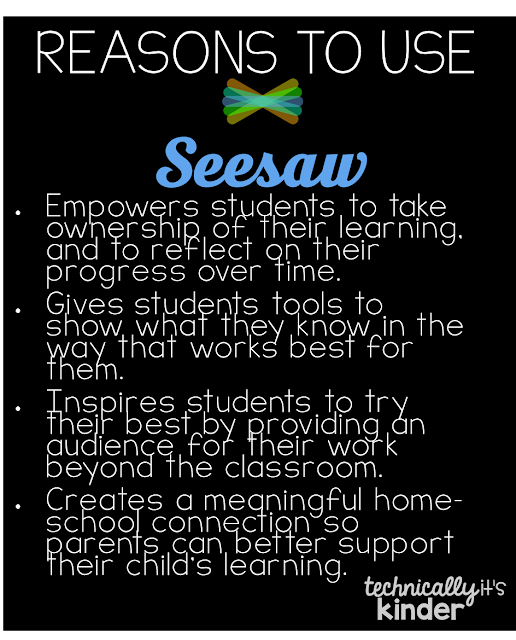
Have you considered using Seesaw in your classroom this school year, but not sure how to get started? Let me help you!  Seesaw allows for students to create a student driven digital portfolio. What are the benefits?


Seesaw is available on the following devices:


Convinced? Okay! Let’s get started!
                          http://web.seesaw.me/
Once you arrive to the website, you will be prompted to create an account.

Once you create your account it is time to create your class and decide how students will login.

Think about how you want your students to log in. If you are a primary teacher (K/2), I highly suggest the QR code option. Students sign in using the QR Class Code. Students choose their name from the class list to add items to their journal. Keep a few copies of the code around your classroom for easy accessibility to students in case for some reason they log out. You will receive an email with a code specific to your class, be sure to check for it.
It’s as simple as that!

Now you are ready to add students and icons to represent them.

Watch this video for in depth details.
(It is only 5 minutes and full of information!)
Now let’s add folders to your class. Folders are a great way to organize student work by subject areas or any way you wish. It is beneficial to color code your folders. My students would ask, “Which color do you want me to put this in?”, before long they knew orange was math, blue was ELA, purple was Morning Work, etc.

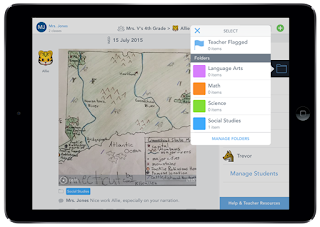
To add folders you will tap menu> manage classes>manage folders. Type folder name and select color. Tap the green check to save. You may add additional folders.

Watch the video for additional info about folders.
 (It’s less than 3 minutes!)


Now grab a device and sign up.
 Come back by soon for how to get your
students & parents started on Seesaw!
Follow me by email or on Instagram.
Both links are available on the right sidebar.

Monday, August 1, 2016

Hello & Getting Started with iPads


Beginning a blog is something I have pondered for some time now. I often get questioned about integrating technology in my Kinder classroom.


I finally got enough courage  to start my own blog.  I have many ideas I want to share about how I’ve integrated technology in the past few years. I particularly have experience with 1:1 iPads in primary classrooms. 


Let me just say that I in no way claim to be an expert, but I am hopeful to share my findings integrating technology into the primary classrooms setting. For the past 3 years I was somewhat of a pilot class for my school/district.


I understand many classrooms are not 1:1 yet, but many teachers/districts are taking the steps to do so. I also understand that many teachers range in their abilities to utilize technology, much less integrate it into a classroom beyond using a few apps here and there. I am hopeful you find some ideas here that a beneficial to you and your students.


Here are a few pieces of advice for implementing any technology in your classroom.

-Have a consistent way to share files, images, and videos with your students, I would also recommend having a consistent way that students turn work back in to you.  (Seesaw, Showbie, Classkick)

I HIGHLY RECOMMEND Seesaw.
http://web.seesaw.me/


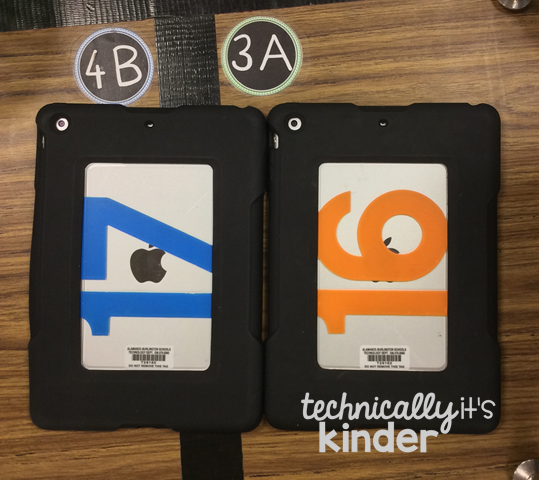
-label EVERYTHING I have placed vinyl decal numbers on each of my iPads (see below). At this time I do not have a fancy cart to house or charge my devices. So what did I do? I placed labels on a rolling 10 draw cart and zip tied chargers through the back. I know...but it works!  Student are assigned a number for the year. If an issue should arise I know exactly who the iPad was used by. I will also offer students a place to store their ear buds. 


-MODEL, MODEL, MODEL, before students engage in using a piece of technology.  Place reminders/bulletin board around your room about  appropriate use and consequences if technology is  not used properly.

I have my students/parents sign an agreement about the use of technology in our classroom. Keep a log of EVER mishap, just in case.


-Plan ahead. We all know  how we can have a love/hate relationship with technology. Make sure you have a backup plan just in case the internet is not working properly, devices take longer than expected to load update, etc. It is also beneficial to have students know what to do should something go wrong in an app or they have a question. I will implement “Techspert” badges for students who can be sought after by their peers for assistance. 

-Routinely go over various icons that will be used/seen in various applications. So many apps use the same icons for specific buttons to promote consistency across apps. Teach your students icons and save yourself some time explaining each icons function, allowing more time for creating & exploring. Do not assume students “know”. Keep in mind you may have a student(s) whom have NEVER used a piece of technology. Check these out. (click image below)
https://www.teacherspayteachers.com/Product/iPad-Icon-Images-for-Student-Reference-in-Tech-Classrooms-2707572

-If you decide to use apps/programs that require usernames and passwords have a plan in place. (log, ring of cards, sticker in binder/folder, etc.) I personally do not use any programs at this point that require my primary students to enter individual username/passwords.
-Remember that technology is a tool. Primary students still need interaction with manipulatives, various writing utensils, etc. Use technology to enhance your students learning while still covering content.

-Stick with it! At first it can be very overwhelming and time consuming to assure your students have a grasp on how to use technology, but just think of how rewarding it will be in the near future. Practice makes perfect!